Maple syrup is made from the xylem sap of sugar maple, red maple, or black maple trees, although it can also be made from the sap of other maple species. These trees store starch in their trunks and roots before winter in cold areas, and the starch is turned to sugar in the sap in late winter and early spring. Maple trees are tapped by cutting holes in their trunks and collecting the sap, which is then heated to evaporate the water and leave the pure syrup.
Making Maple Syrup: A Step-by-Step Guide
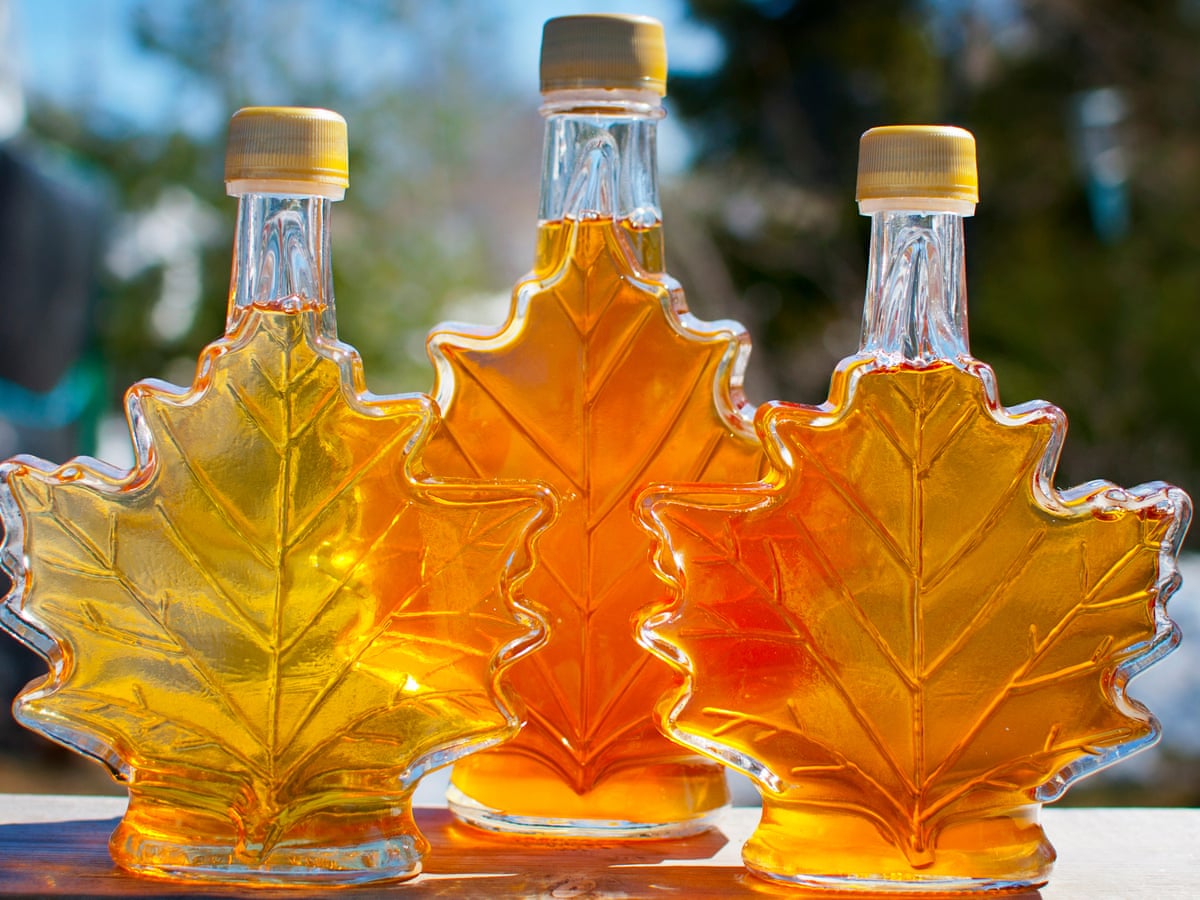
Maple syrup season marks the start of spring in many parts of the northeast and midwest, and there’s no substitute for true, pure maple syrup. Those high fructose “pancake syrups” you see at the grocery store won’t cut it after you have tried it.
Maple syruping is a centuries-old tradition that began with Native Americans planting “sugar bushes” and boiling sap on hot stones. Today, the process of manufacturing maple syrup has grown into a multi-billion dollar industry that includes everything from major commercial operations to hobbyists making syrup in their own backyards with friends and family. When it comes to filtering syrup, everyone has their own set of tricks. This blog post is about maple syrup hobbyists and home production.
Step 1: Locate the Trees

Begin by looking for a tree. There are many different species of maple trees, and while the sugar maple is the best since it contains the most sugar, any maple tree would suffice. The tree must be at least 12″ in diameter, and trees larger than 20″ in diameter may require two taps.
Step 2: Put the Spiles in Place

Get your spile ready (the tap that goes into the tree). These are merely a few dollars each and are available all over the internet. Drill a hole a couple of inches deep into the trunk, typically 5/16″ (the spile will tell you what size to drill). To help the sap trickle downward, drill around chest height and slightly upward. Drive the spile into the hole you bored with a small hammer or mallet.

Some large-scale producers employ hoses and vacuum lines to remove sap from trees and transport it to a storage tank, but this is not essential if you are only tapping a few trees in your backyard.
Step 3: Sap Collection

The sap will be transparent and have a faint sweetness to it, similar to water. When the temperature is in the 40s during the day and below freezing at night, sap flows best.
Everything is dependent on the weather.You will want to keep the sap in the fridge until you have several gallons. You can be checking the buckets at least once a day and putting the contents into a big food-grade container that can be stored in the fridge or freezer. To make a small amount of syrup, you will need a lot of sap.
Step 4: Boil the sap

A gallon of syrup may require around 40 gallons of sap. This varies depending on the sap’s sugar level, but It is a decent ballpark figure.
A “sugar shack” with a large, flat vessel for the sap is used by professionals. To boil the vessel down, they light a fire underneath it. You don’t need to go that far if you just have a couple trees tapped. A propane turkey fryer can be used for such little quantity. You can start boiling when you have about 10 gallons of sap. If you do this on the stove, be warned that there will be a lot of steam, which will make every surface in your house sticky. If you don’t have a large enough pot, keep in mind that you can add more sap as it boils down. If you want to finish it on the stove, add the maple concentrate as it starts to thicken.

The sugar concentrates and caramelizes as it boils, giving it that dark brown hue. The boiling point of the liquid rises as the water boils away. It is done when the liquid rises 7 degrees over your area’s boiling point of water (219 degrees F at sea level). Simply boil it till it thickens and tastes good.
Step 5: Storing

Once the syrup is ready, pour it into bottles and store it in the refrigerator. Pour it into sterilized mason jars and can it in a boiling bath canner for long-term preservation.
Filtering Your Marple Syrup
Is it necessary to filter sap before boiling it?
No! The natural minerals in sap must be cooked in order for them to harden into niter, commonly known as sugar sand.
Why Is Maple Syrup Filtered?
Filtering Maple Syrup is not necessarily required, however it is strongly recommended since it removes contaminants and niter from the syrup. The taste, clarity, and color of the syrup will all be improved as a result of this process.
Note: Food safety and health laws must be observed if the syrup is intended for resale.
When should I filter my Maple Syrup?
When the sap reaches a density of 7.5 degrees Fahrenheit over the boiling point of water, it has become syrup and can be filtered. The primary guideline of filtering is to filter the syrup while it is still hot, using clean filter material such as wool or Orlon.
Filtering syrup that has just been pulled from the evaporator or finisher while it is still hot is the ideal method. As soon as the syrup cools, it begins to thicken, making it nearly impossible to filter.
What Filter Types Should I Use?
If you are preparing a small batch of syrup, cheesecloth will suffice. However, we recommend that you use maple syrup filters made specifically for this purpose.

After filtering 2-3 gallons of syrup, your filters will become clogged, thus it is critical to replace them. Try not to push the syrup through the filters because this will also push the niter through.
Maple syrup can be filtered with a coffee filter. It is used by a large number of people. If you are creating a small amount of marple syrup or if it is your first time making marple syrup, a coffee filter is great.
Filtration will eliminate particles and give the syrup a wonderful purity. You can filter with cheesecloth or coffee filters, but if you plan on creating maple syrup in the future, it’s best to use “orlon,” a reusable filter material.
How to Get Your Filter Ready.
When utilizing the filters for the first time in a season, you can soak them in hot water for a few minutes. This guarantees that the filters remain clean and that old bacteria do not infect new syrup, especially during storage between seasons. If you dampen your filter in hot water before using it, it will perform better.
Keeping Your Filter Clean.
Flip the filters inside out and flush them with boiling water until the water runs clear. When cleaning your filters, avoid using soaps or detergents because this will alter the flavor of your syrup. When cleaning your filters, take care not to twist, strain, or stretch them; instead, gently squeeze the water out. Machine cleaning is not recommended since it will make them fuzzy and leave fibers in the filtered syrup. Once your filters are clean, lay them flat or hang them to dry.
Note that unless the filters have been brushed, machine washed, or machine dried, and the fibers are on the exterior surface, they should not lose fibers.
Pre-filters

Filtering maple syrup with pre-filters creates a tiered look. This guarantees that the sugars and niter in your maple syrup are removed as efficiently as possible. Pre-filters go on top of flat filters or within cone filters.

You can watch this video clip to have an insight on how to filter your Maple Syrup.
Am highly greatful reading your health talk and I anticipate towards getting more feedback on the next updates.
Health is wealth !!!